Where should I place my projector?
Getting your projector placement right is crucial to enjoy the best viewing experience. However, finding the sweet spot is not so easy like setting up your TV.
You have to consider many things, like distance from the screen, lens shift, vertical offset, and more.
Fortunately, you don’t have to grasp in the dark to place your projector successfully. Here are the top tips to help you do a great job.
Determine Your Projector's Throw Distance

Every projector has an optimum throw distance. It is the distance of the tip of the projector lens from the screen. You can use the throw distance of your projector to decide how close or far you can place the projector.
Generally, you will have a number or a throw ratio to specify your projector’s throw distance. You can find it in your manual.
If it’s a number, you can multiply your throw distance with the horizontal width of your screen to find the perfect spot to place the projector.
Let’s say the throw distance is 1.5 and your horizontal screen size is 55-inches. So, you will need to keep your projector 1.5 x 55, or 82.5-inches from your screen.
Throw Ratio Calculation
Throw ratios give you a range between which you can keep your projector. Let’s say the ratio of your projector is 1.5:2.0. So, you can mount your projector either 1.5 x 55-inches or 2.0 x 55-inches away from the screen.
So, for a screen size of 55-inches you can mount your projector lens 82.5 to 110-inches apart from your screen.
Your projector can be short throw or long throw. Short throw projector placement an be nearer to the screen. Long throw projectors are good for long viewing distances.
Centering Your Projector and Lens Shift for Your Home Theater System

You have got the right distance from the screen to mount your projector. Now comes the turn of getting your picture right in the center.
Many people keep projectors on tables, while people with home theater may prefer ceiling mounting. Here, the vertical lens shift comes into play.
Many projectors come with vertical shift to move the lens up and down. As a result, you do not have to manually move the projector to find the center.
You can control the placement of the lens with the touch of a button. This is also known as vertical offset.
For projectors without vertical offset, you should move the projector up and down to get the right placement.
Position Your Projector Parallel to Center of the Screen
The lens of the projector should be parallel to the center of the screen if you’re using a vertical offset. Otherwise, don’t believe in this misconception, as it doesn’t apply to affordable projectors with no vertical offset.
Using Horizontal Offset
Many projectors come with horizontal offset to move the lens left and right. However, the vertical and horizontal offset are linked and both are affected when you use one.
Getting your picture in the screen center horizontally is a simple task even if you don’t have a horizontal offset.
Should You Use the Built-In Keystone Correction?
Your projector may come with a built-in keystone correction feature. The task of keystone correction is to electronically give a rectangular shape to the projection.
Not getting your projection on the center of the screen makes the picture look a bit off and trapezoid in shape. Generally, a bit of distortion is not noticeable to our eyes.
But if it’s too off, then you need to change the placement to get the right center.
However, using keystone correction may take a toll on your picture quality. The feature reduces the resolution as you are not using the original specifications of the image.
It also introduces video processing and hampers the quality, aspect ratio, and more.
So, try to center your projector using the offset feature or manual placement changes.
Consider Room Lighting
Not all of us may have a specially designed room for our home theater. As a result, the ambient light and bulbs in your room can interfere with your video and hamper the quality.
You will want to mount your projector away from lights. The lower the ambient lighting, the higher will be the viewing pleasure.
Make sure you have no lights or they are turned off for the distance between the screen and projector.
You should also consider getting blackout curtains if you plan to use your projector during the day. The sun can cause a lot of disturbances in your projection.
Additionally, use the brightness settings of projectors to get the right effects you desire.

Ceiling, Table, or Cabinet?
Once you find the right distance and center, it’s time to decide where to mount your projector.
A tabletop may be a simple solution if you don’t have a dedicated home theater room. You can quickly disassemble and move your projector without any hassle. It is suitable for your living room and study.
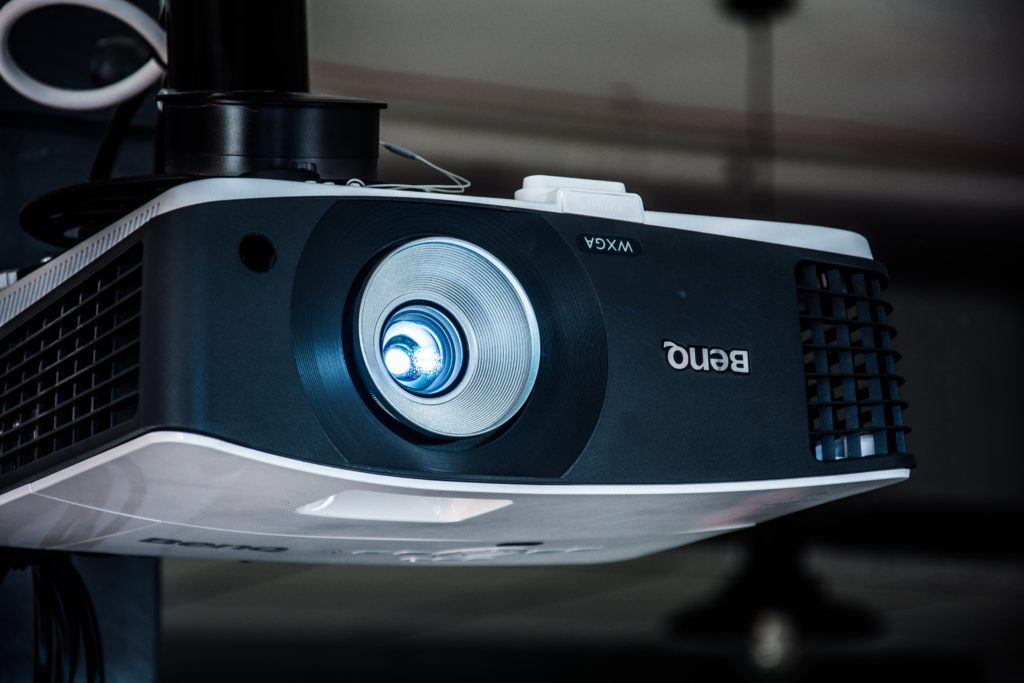
A ceiling mount is a great option if you don’t plan to move your projector. You can buy all ceiling mount accessories from your local store.
You can have the projector behind the place you plan to sit and watch your movies from.
A cabinet can be a good idea to keep the noises of the projector down. The noise of the fan in many projectors can hamper your viewing experience. A cabinet will seal the noise and let you enjoy your movie to the fullest.
However, be sure to make room for ventilation. Projectors can get hot, especially if you plan for long hours of projection. So, you need to ensure heat doesn’t build up.
Final Thoughts
Adjust your projector and distance as long as you don’t find the sweet spot. Our tips will help you get to the right location quickly without any headache. Take advantage of your vertical and horizontal offset to fine-tune your placement.
Next, gear up for countless hours of fun, movies, and TV shows.

James has been a tech fanatic for years, from taking apart old electronics and putting them back together to now learning what more technology has to offer. He constantly is learning more regarding the tech industry. As the creator of Internet Bankroll, his mission is to provide unbiased tech information to everyone!
